How much does it cost to build out a Sprinter Van into a home?
This page should serve as a one stop shop resource. On this page I include a spreadsheet you can view that will show you (almost) exactly what we spent on the process.
**DISCLAIMER** This is not how much you have to spend in order to build out a sprinter van. This is approximately how much we spent. I know people who have put waaaaay less into their vans and are just as happy, I also know people who put in waaaaaay more and are equally happy, it all depends on your budget (and timeline). I did my best to record every receipt, but I'm only human and sometimes I forgot or I lost the receipt or even just couldn't remember how we used the item. We returned some things for store credit and I wasn't able to add up and subtract all of those things. This is my best guess of how much we spent, and I think it pretty accurately reflects the van build out cost. Enjoy!
Click here for the spread sheet I made while building out the Van (Lyra) with total cost of items purchased.
Van Stats

Image from https://michaelbaba.smugmug.com/
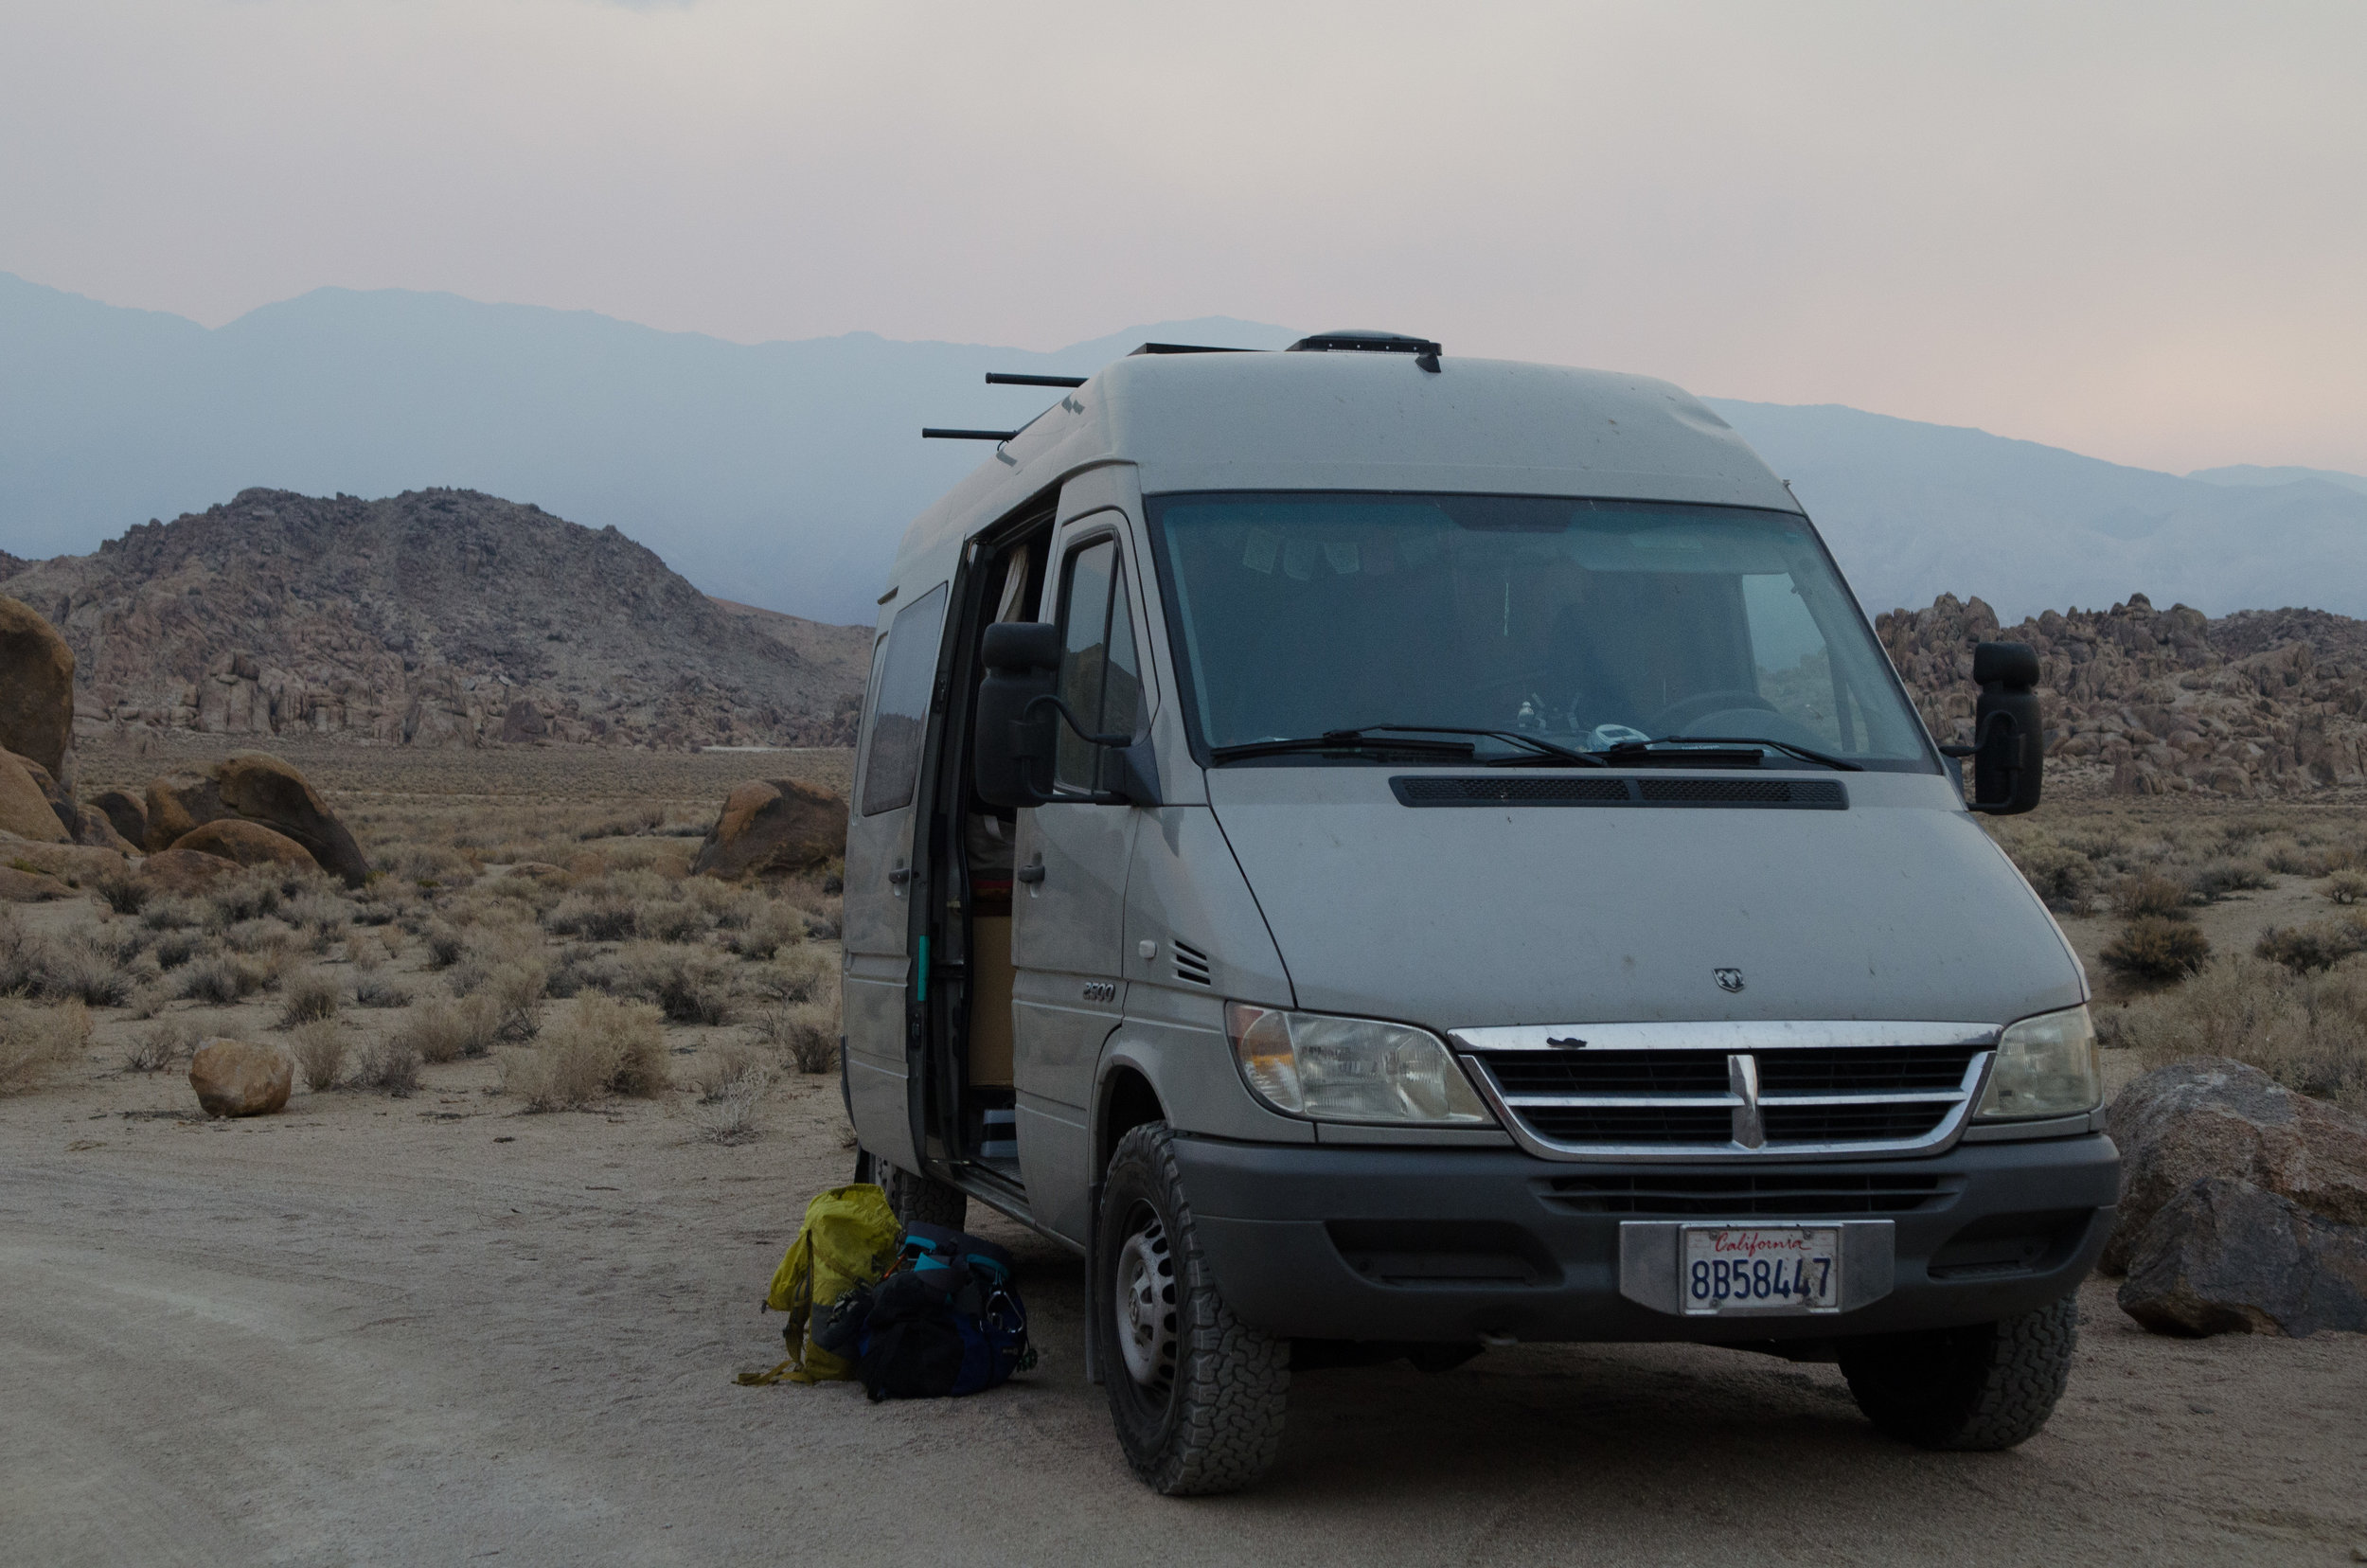
Image from https://michaelbaba.smugmug.com/
2006 Dodge Sprinter
Bought with 179k miles
APPROXIMATE COST: $16k
Van Cost: $11k
Materials: $5k
My beer is cold at the end of the day because of the power of the sun.
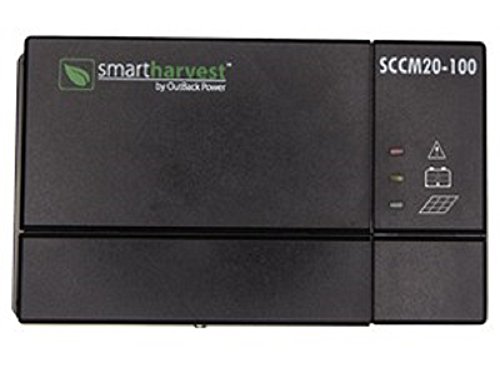
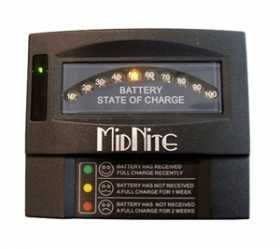
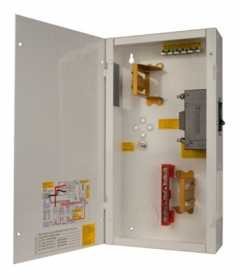
I love that. I love that so much. Having a solar panel and running a battery bank off it is amazing. It saves a lot of money, it's quiet, and it's renewable! Getting the electrical set up in the van was the most expensive and difficult part about building out a van, but 100% worth it. I wouldn't recommend skimping on expenses during this stage. Having a system that is expensive and works is way better than having a system that is cheaper, but could break down/explode during your travels. Want to just hire someone to do this for you? Email Ben Valentine at BenValentineDesign@gmail.com!
Read more here.
Materials


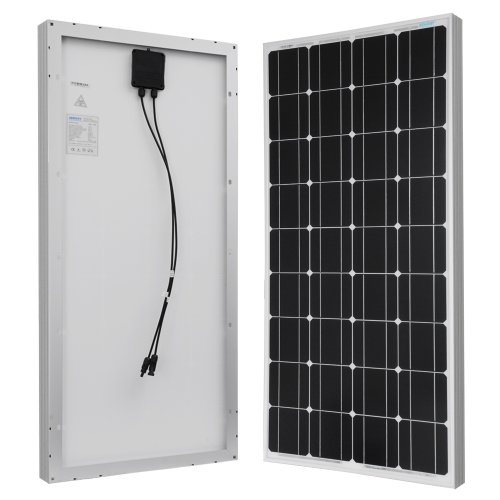
**Product Recall** This product is no longer available, but I’m linking to it here so you can find one that works for you.

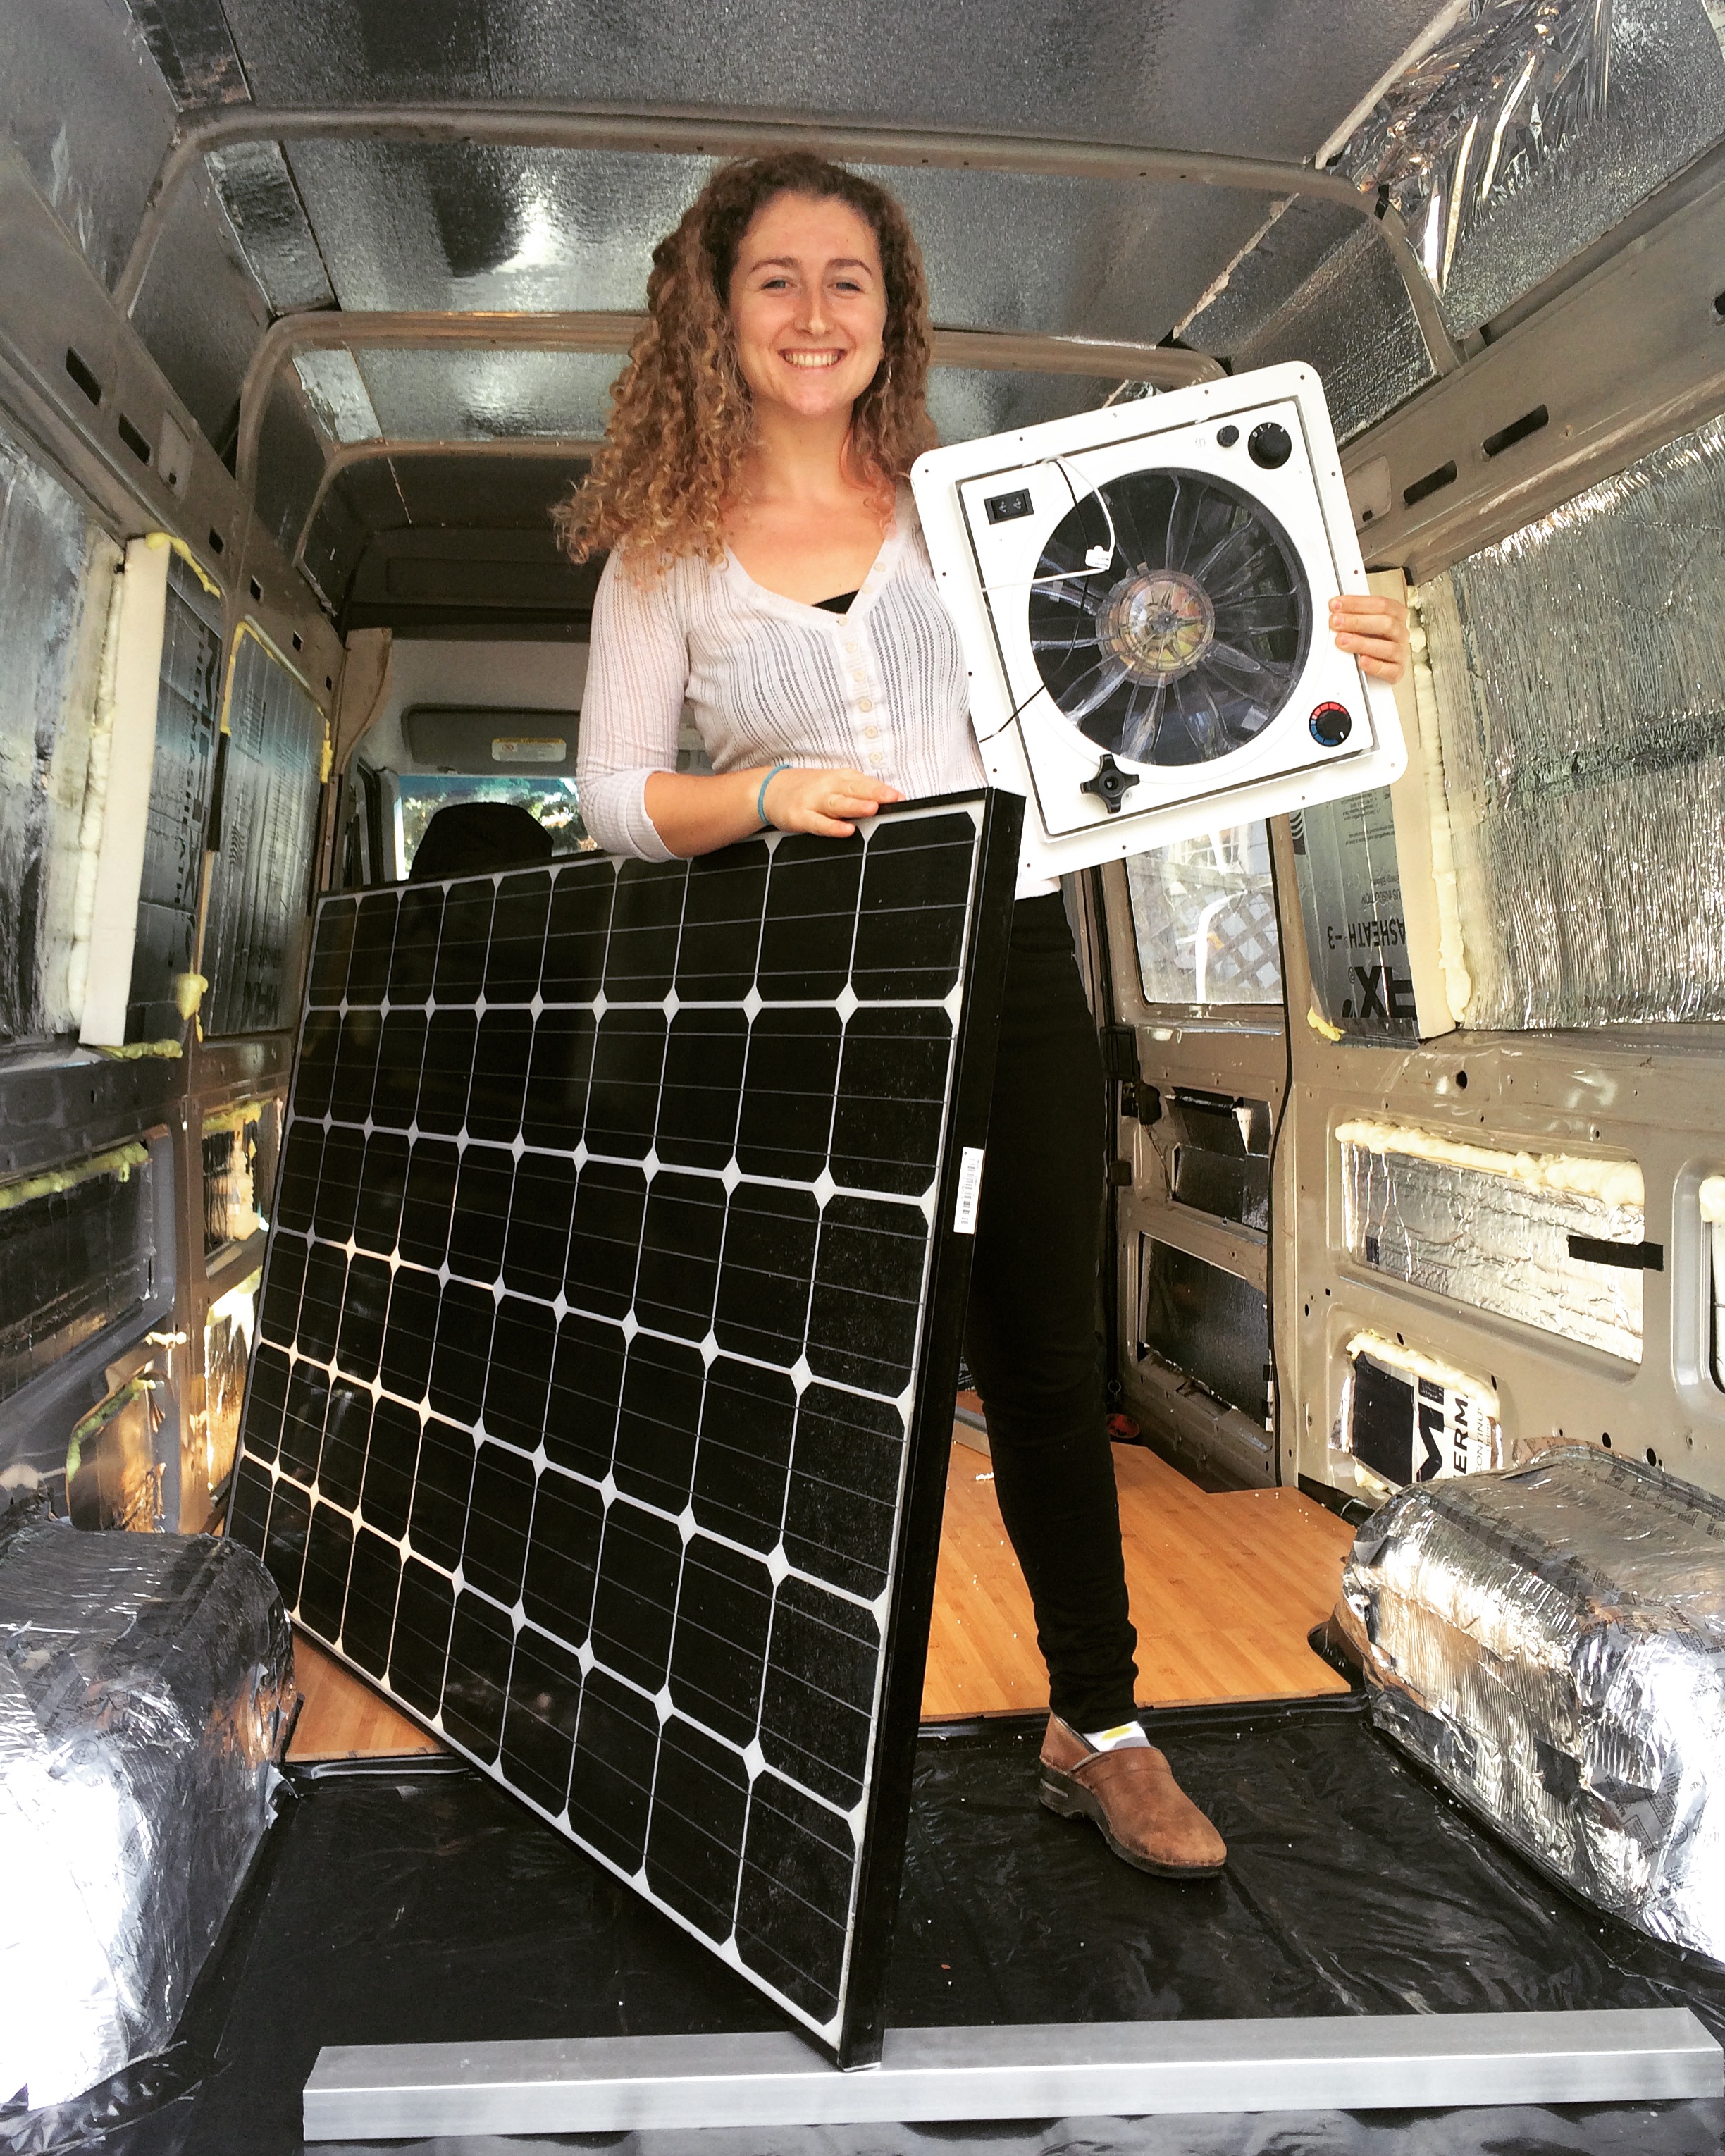
The solar panel we got is linked here: http://bit.ly/2avhxvR
However we purchased ours second hand from a friend, there are similar panels here

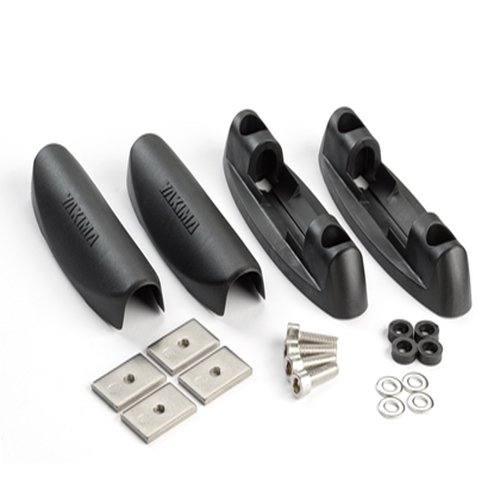
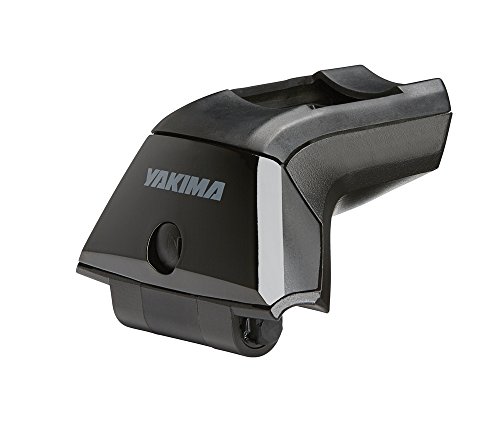
Roof Racks
Also included in the roof rack was the 42" tracks! http://bit.ly/2oxa2wp

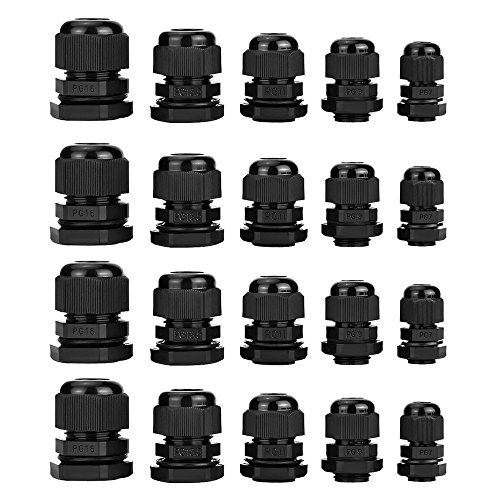
Additional Materials
The only thing I couldn't find on Amazon was the LED lights we used, which can be found here: http://bit.ly/2atwOR

I didn't realize until a few months after having a fan in the van how important it is. With a fan in the van you can drastically reduce the moisture that gathers on the windows, it helps air out a tiny space that you cook in, sleep in and bathe in, and it really helps keep the van a comfortable temperature. I use the fan all the time when I'm cooking to keep steam from condensing in the van, to keep the onion and garlic smell from lingering and to air out the burning propane. Fantastic fans are awesome, 100% would recommend.
Read more here
Materials Used


The very first thing we did on the Sprinter van (after tearing out the shelving left over from the other guy) was install the van floors. The floors are a really important part of the install. I've seen a lot of build outs that recommend doing the floors last, but that seems counter-intuitive to me. We also went with the 'hardwood' floors instead of the roll out linoleum flooring that some installs have. If I was to do it again, I would totally do the hardwood floors!
Read about the complete install here.
Materials Used
The only thing I couldn't find on Amazon was the underlayment which can be found here:
Underlayment - http://bit.ly/2aKtEUM

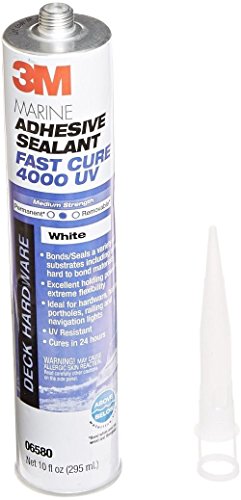
**Important Update**
Hey! So, Michael and I did not, but SHOULD HAVE used some kind of rubber undercoating to protect the inside of the van from rust. I'm quoting directly from the Sprinter Van Conversion sourcebook (which is 100% amazing, go check it out) and he has this to say about materials that will help prevent rust.
"Rubberized undercoating (cheaper option) – Many types of spray-on and brush-on rubberized undercoatings available, including 3M Underseal (spray-on)(http://amzn.to/2jimPOT), Rusfre undercoating (brush-on)(http://amzn.to/2iFBNj6), Hippo Liner (brush-on) (http://amzn.to/2j2iC0C). Note: If you do use an undercoating, make sure that the entire surface is very clean and very dry, or else the undercoating will actually promote rust by trapping moisture."
So! Make sure to put some of that on first to prevent rusting on the inside! Who knows.... Michael and I may have to go back and do it to our van too. For now, I'm keeping her well ventilated and taking advantage of my two dehumidifiers. Best of luck to you!
Read about the complete install here.
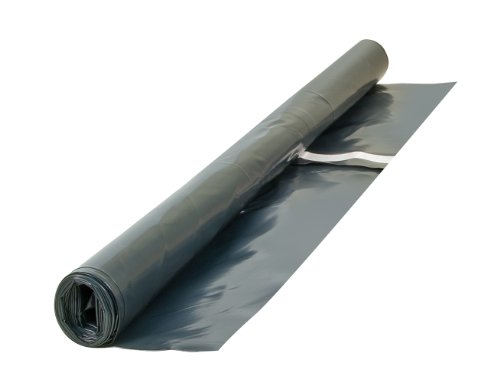
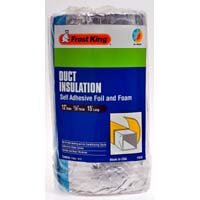
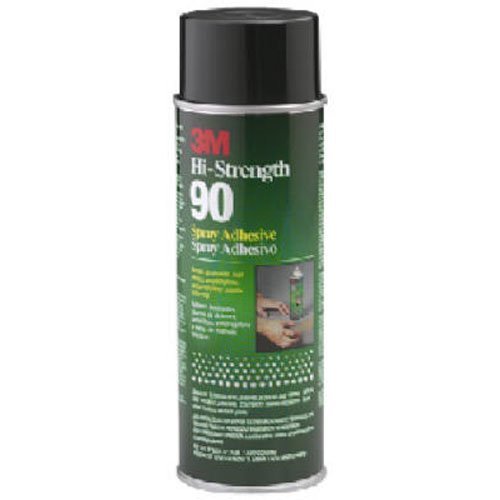
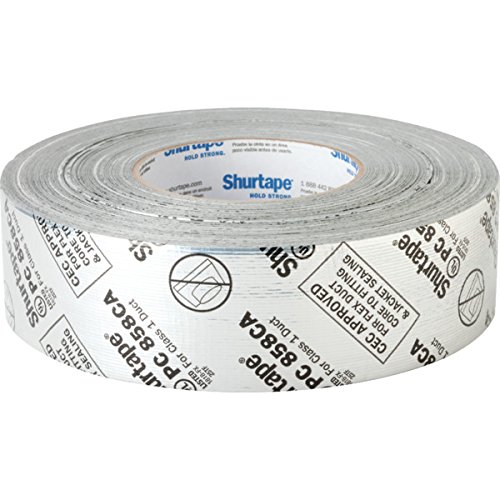
Materials Used

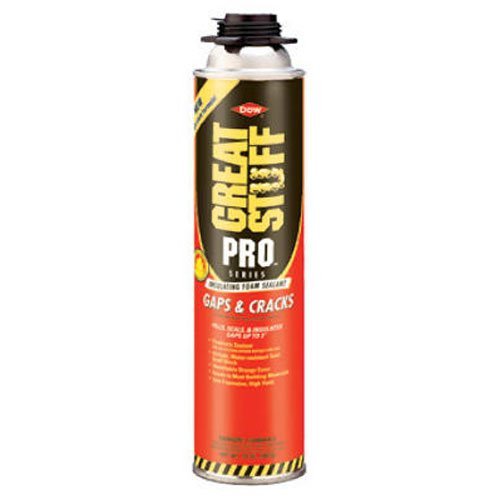
Additional Materials
Insulfoam 3/4 in. x 2 ft. x 4 ft. R-2.89 Insulating Sheathing - http://thd.co/2aQGW3r
Rmax Thermasheath-3 2 in. x 4 ft. x 8 ft. R-13.1 Polyisocyanurate Rigid Foam Insulation Board - http://thd.co/1UCOA2x
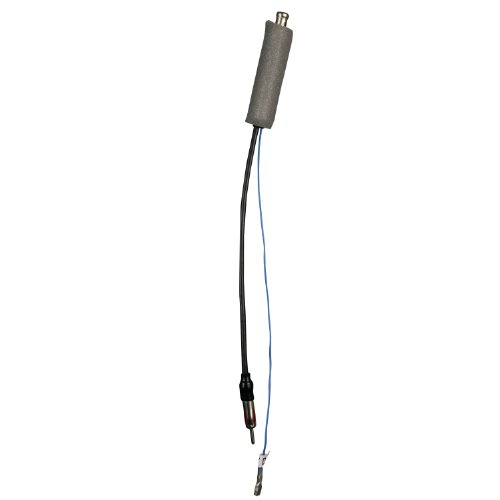
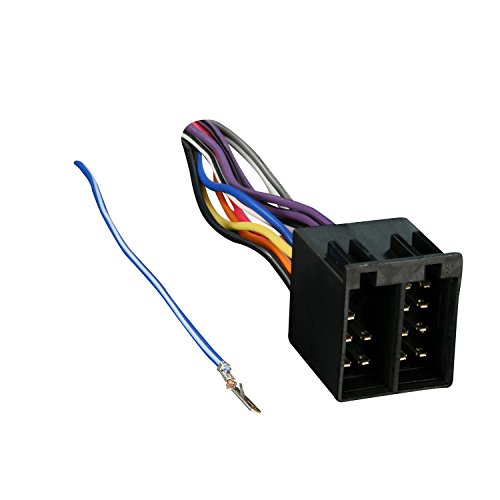
Stereo Replacement
This was one of the first 'mods' that we did on the van that didn't have anything to do with the 'house' part of the build out. We had been driving it around for a while and realized that the stereo sucked a lot. It didn't have an audio jack, didn't take Bluetooth and only played CD's, which I haven't bought since 7th grade. So we replaced the stereo!
Read more here.
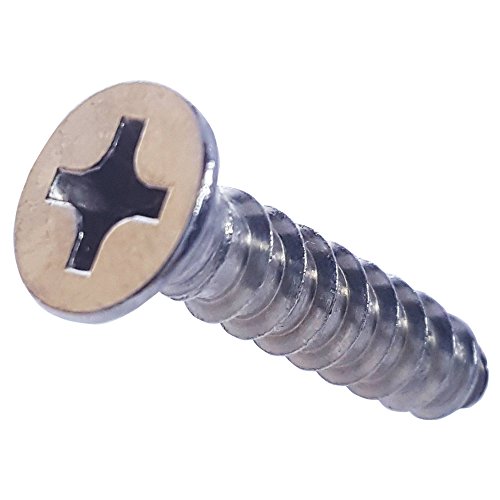
Materials Used

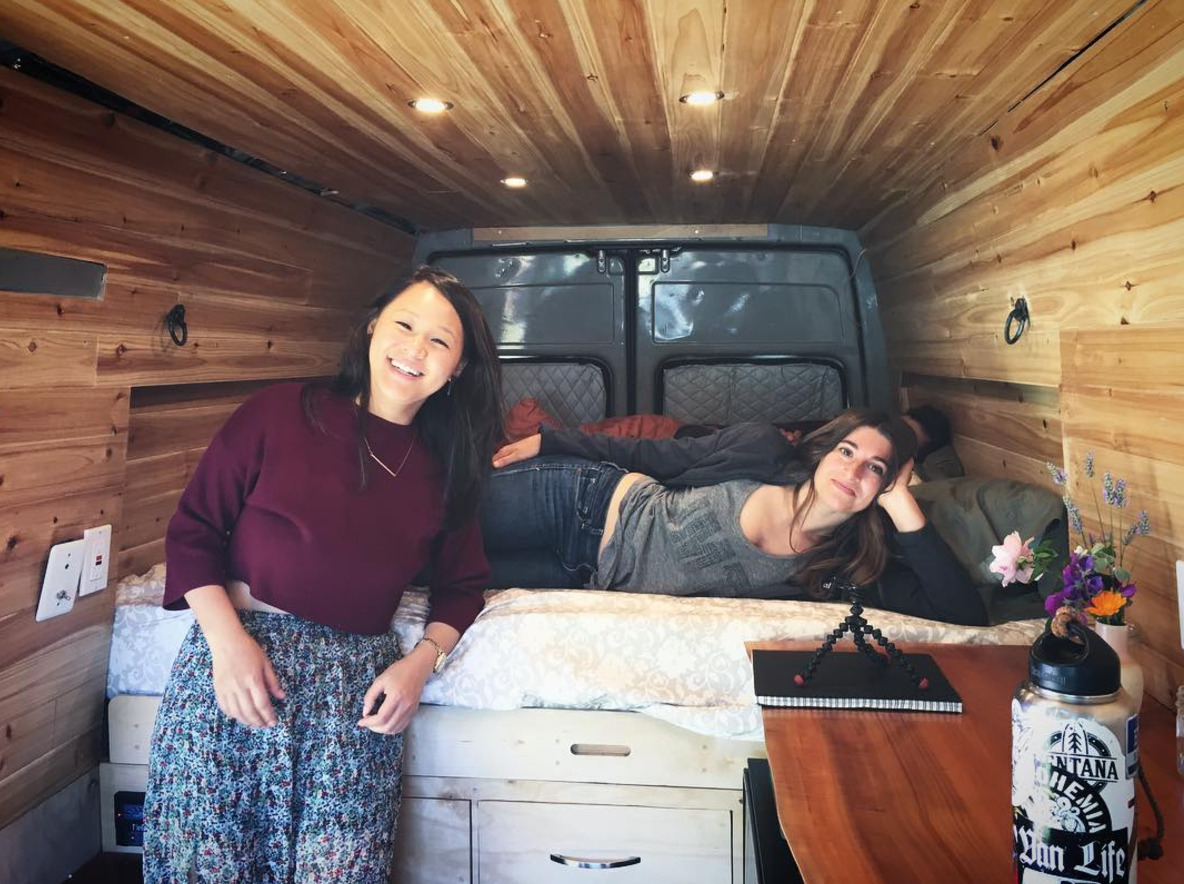
The wood paneling we did in the van is one of my favorite visual components of the van. It makes the van look and feel like a cabin in the woods. The color was really important to us when we were building it out, we had seen a lot of build outs that had dark wood and it really shrank the space. With the light wood it seems much more roomy and light, which is key for a small space like this! Another bonus is that when people first enter your van they can smell the cedar. My nose has long since adjusted to the scent, but I still get people who comment on it when they walk in.
Read more here.
Materials Used


Additional Materials
StrongStik Construction Adhesive - http://amzn.to/2axKO95
Cedar Planks - http://bit.ly/2ahGzwK
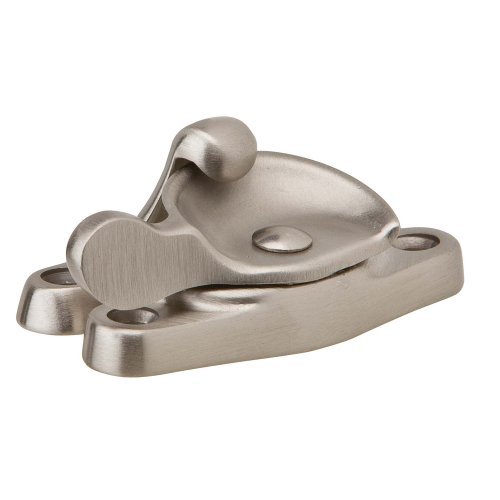
Sink/Plumbing
It took me waaaaay too long to make this video, however, it is worth the wait. This is a walkthrough of how we did the sink/gray water set up in the van. I'm going to complain a lot about the electric pump, however I have been using it for almost a year now and it's done a very good job at doing what it is supposed to do. If you don't want to mess around with a foot pump then this is a really good solution for you. Enjoy!
*Note* Something to consider is where you will dump your water tanks! As much as I can I dump mine in RV dump stations, camp bathrooms, or down the gutters. However, this isn't always possible and sometimes I dump my water in remote areas. It's important to note I only have 5 gallons of water so my impact is very low. However, if you have really big tanks I would not recommend dumping them on the ground. Do your best to deal with your greywater ethically!
Read more here.
Materials Used


Materials Used
Building out the bed frame and cabinets is so rewarding because you finally feel like it's starting to come together as a home. The bed frame especially makes it feel homey since you can start to imagine where you'll be sleeping! This step is also surprisingly expensive unless you have a lot of spare wood lying around. We were able to reuse some old wood, but needed to buy a lot of sturdy stuff for the cabinets.
Read more here.


Wood Materials
Plywood 3/4" - http://thd.co/1QfN5Ud
Plywood 1/2" - http://thd.co/2a7IgMM
Plywood 1/2" - http://thd.co/2a7IgMM
2x4's - http://thd.co/2ar5BNv