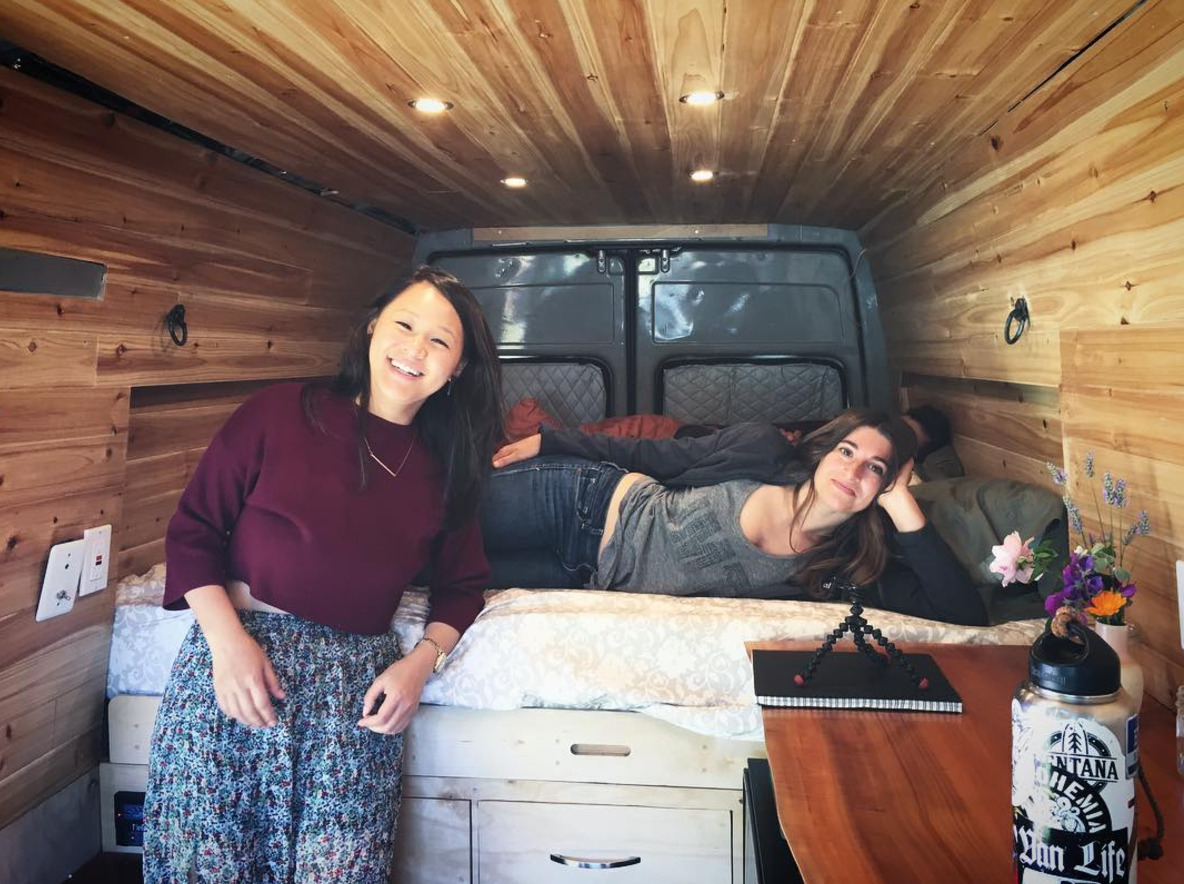
Pretty wood paneling that makes your van feel like a cabin!
The wood paneling we did in the van is one of my favorite visual components of the van. It makes the van look and feel like a cabin in the woods. The color was really important to us when we were building it out, we had seen a lot of build outs that had dark wood and it really shrank the space. With the light wood it seems much more roomy and light, which is key for a small space like this! Another bonus is that when people first enter your van they can smell the cedar. My nose has long since adjusted to the scent, but I still get people who comment on it when they walk in.
Materials Used


Additional Materials
StrongStik Construction Adhesive - https://amzn.to/31lByho
Cedar Planks - http://bit.ly/2ahGzwK
Process
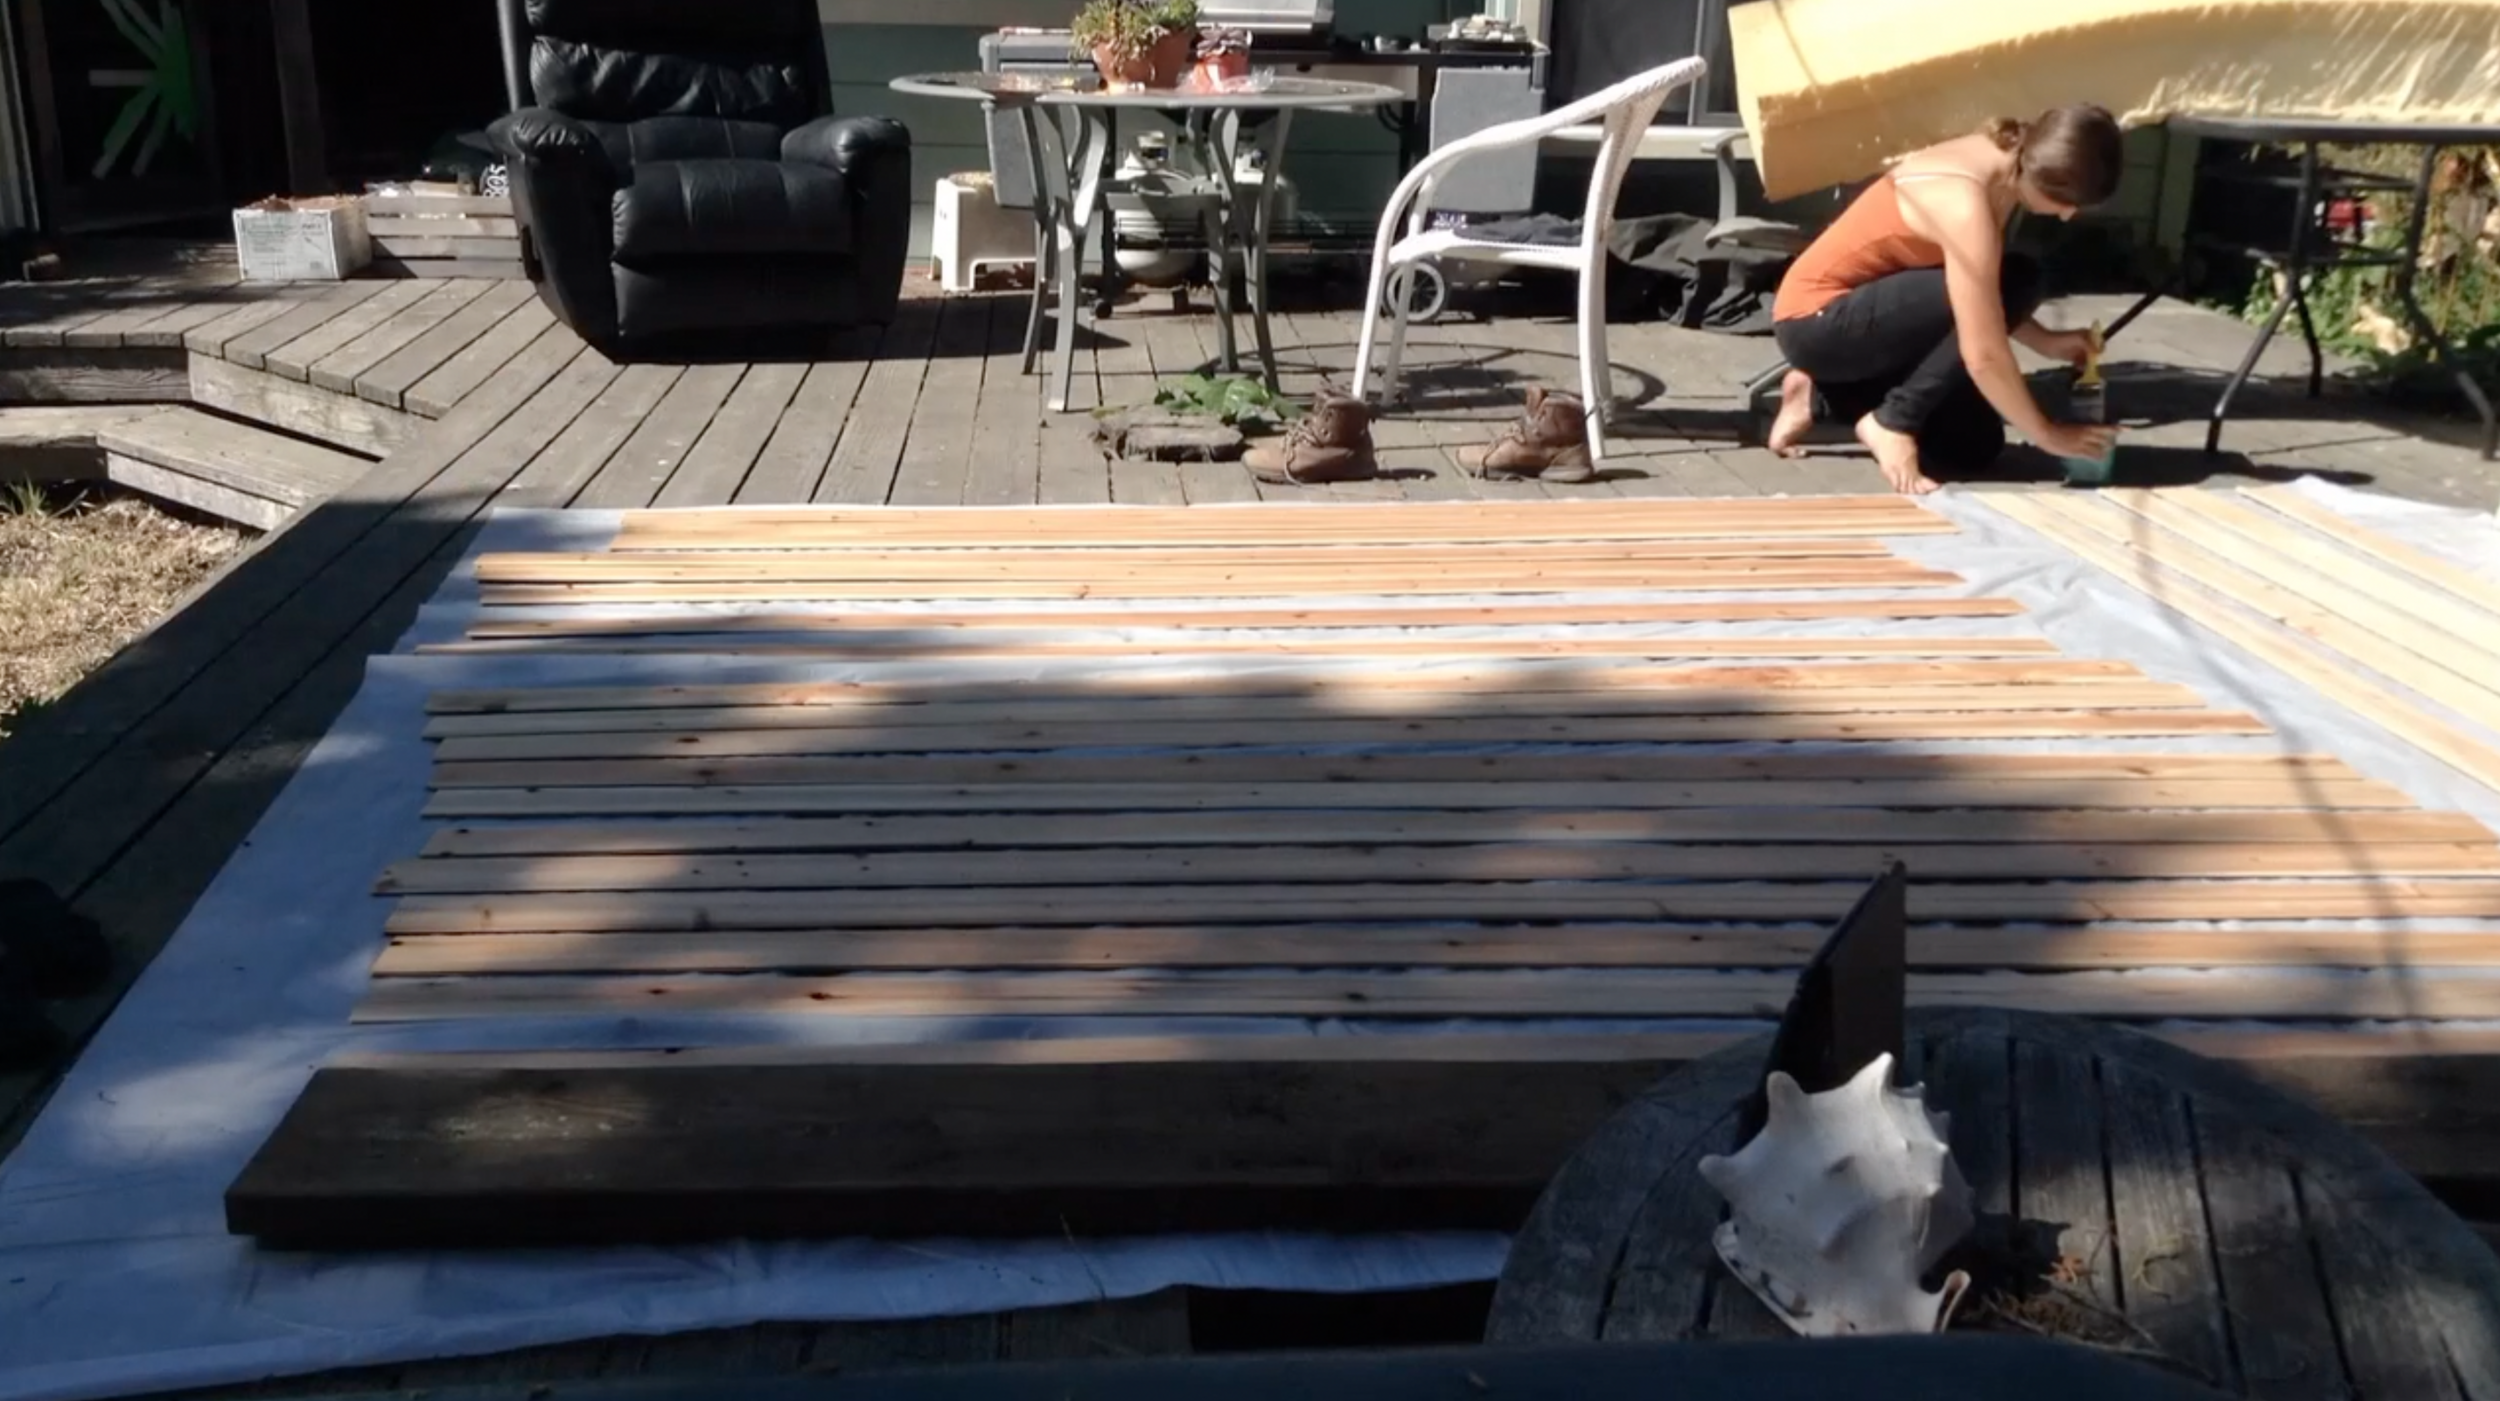
Step 1: Let the cedar planks sit out for 72 hours.
Step 2: Paint them (2 or 3 coats) with the min wax. Make sure to get all sides!
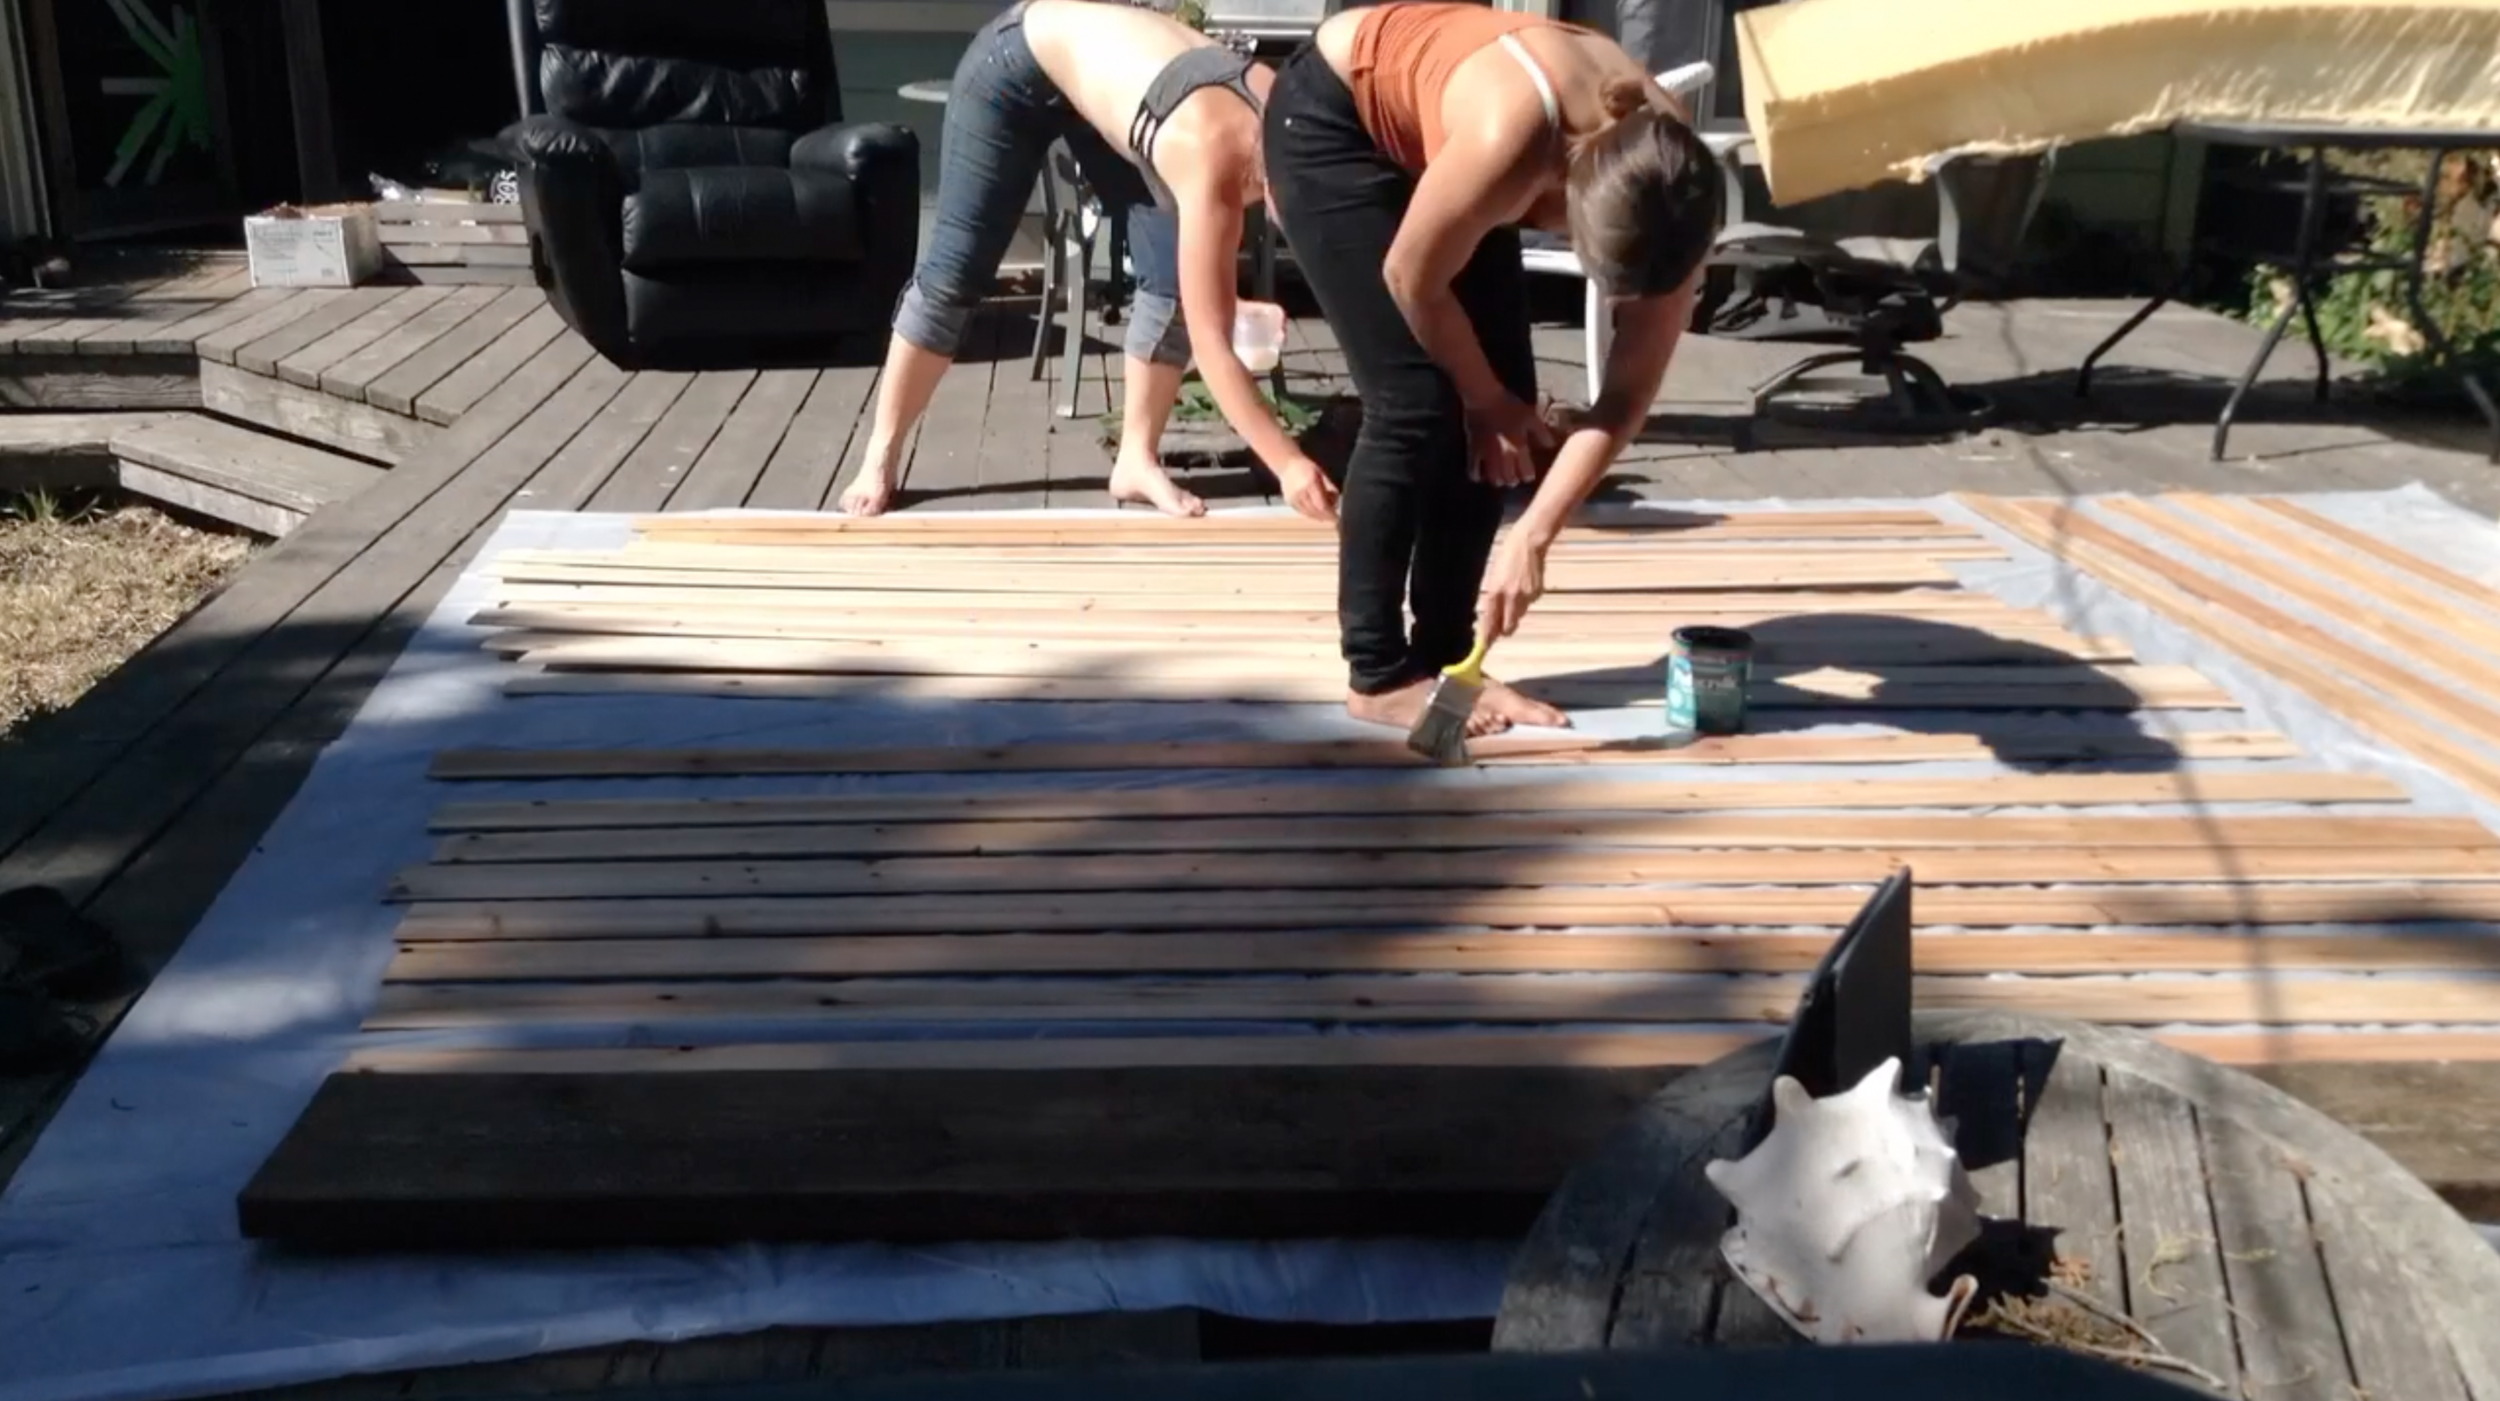
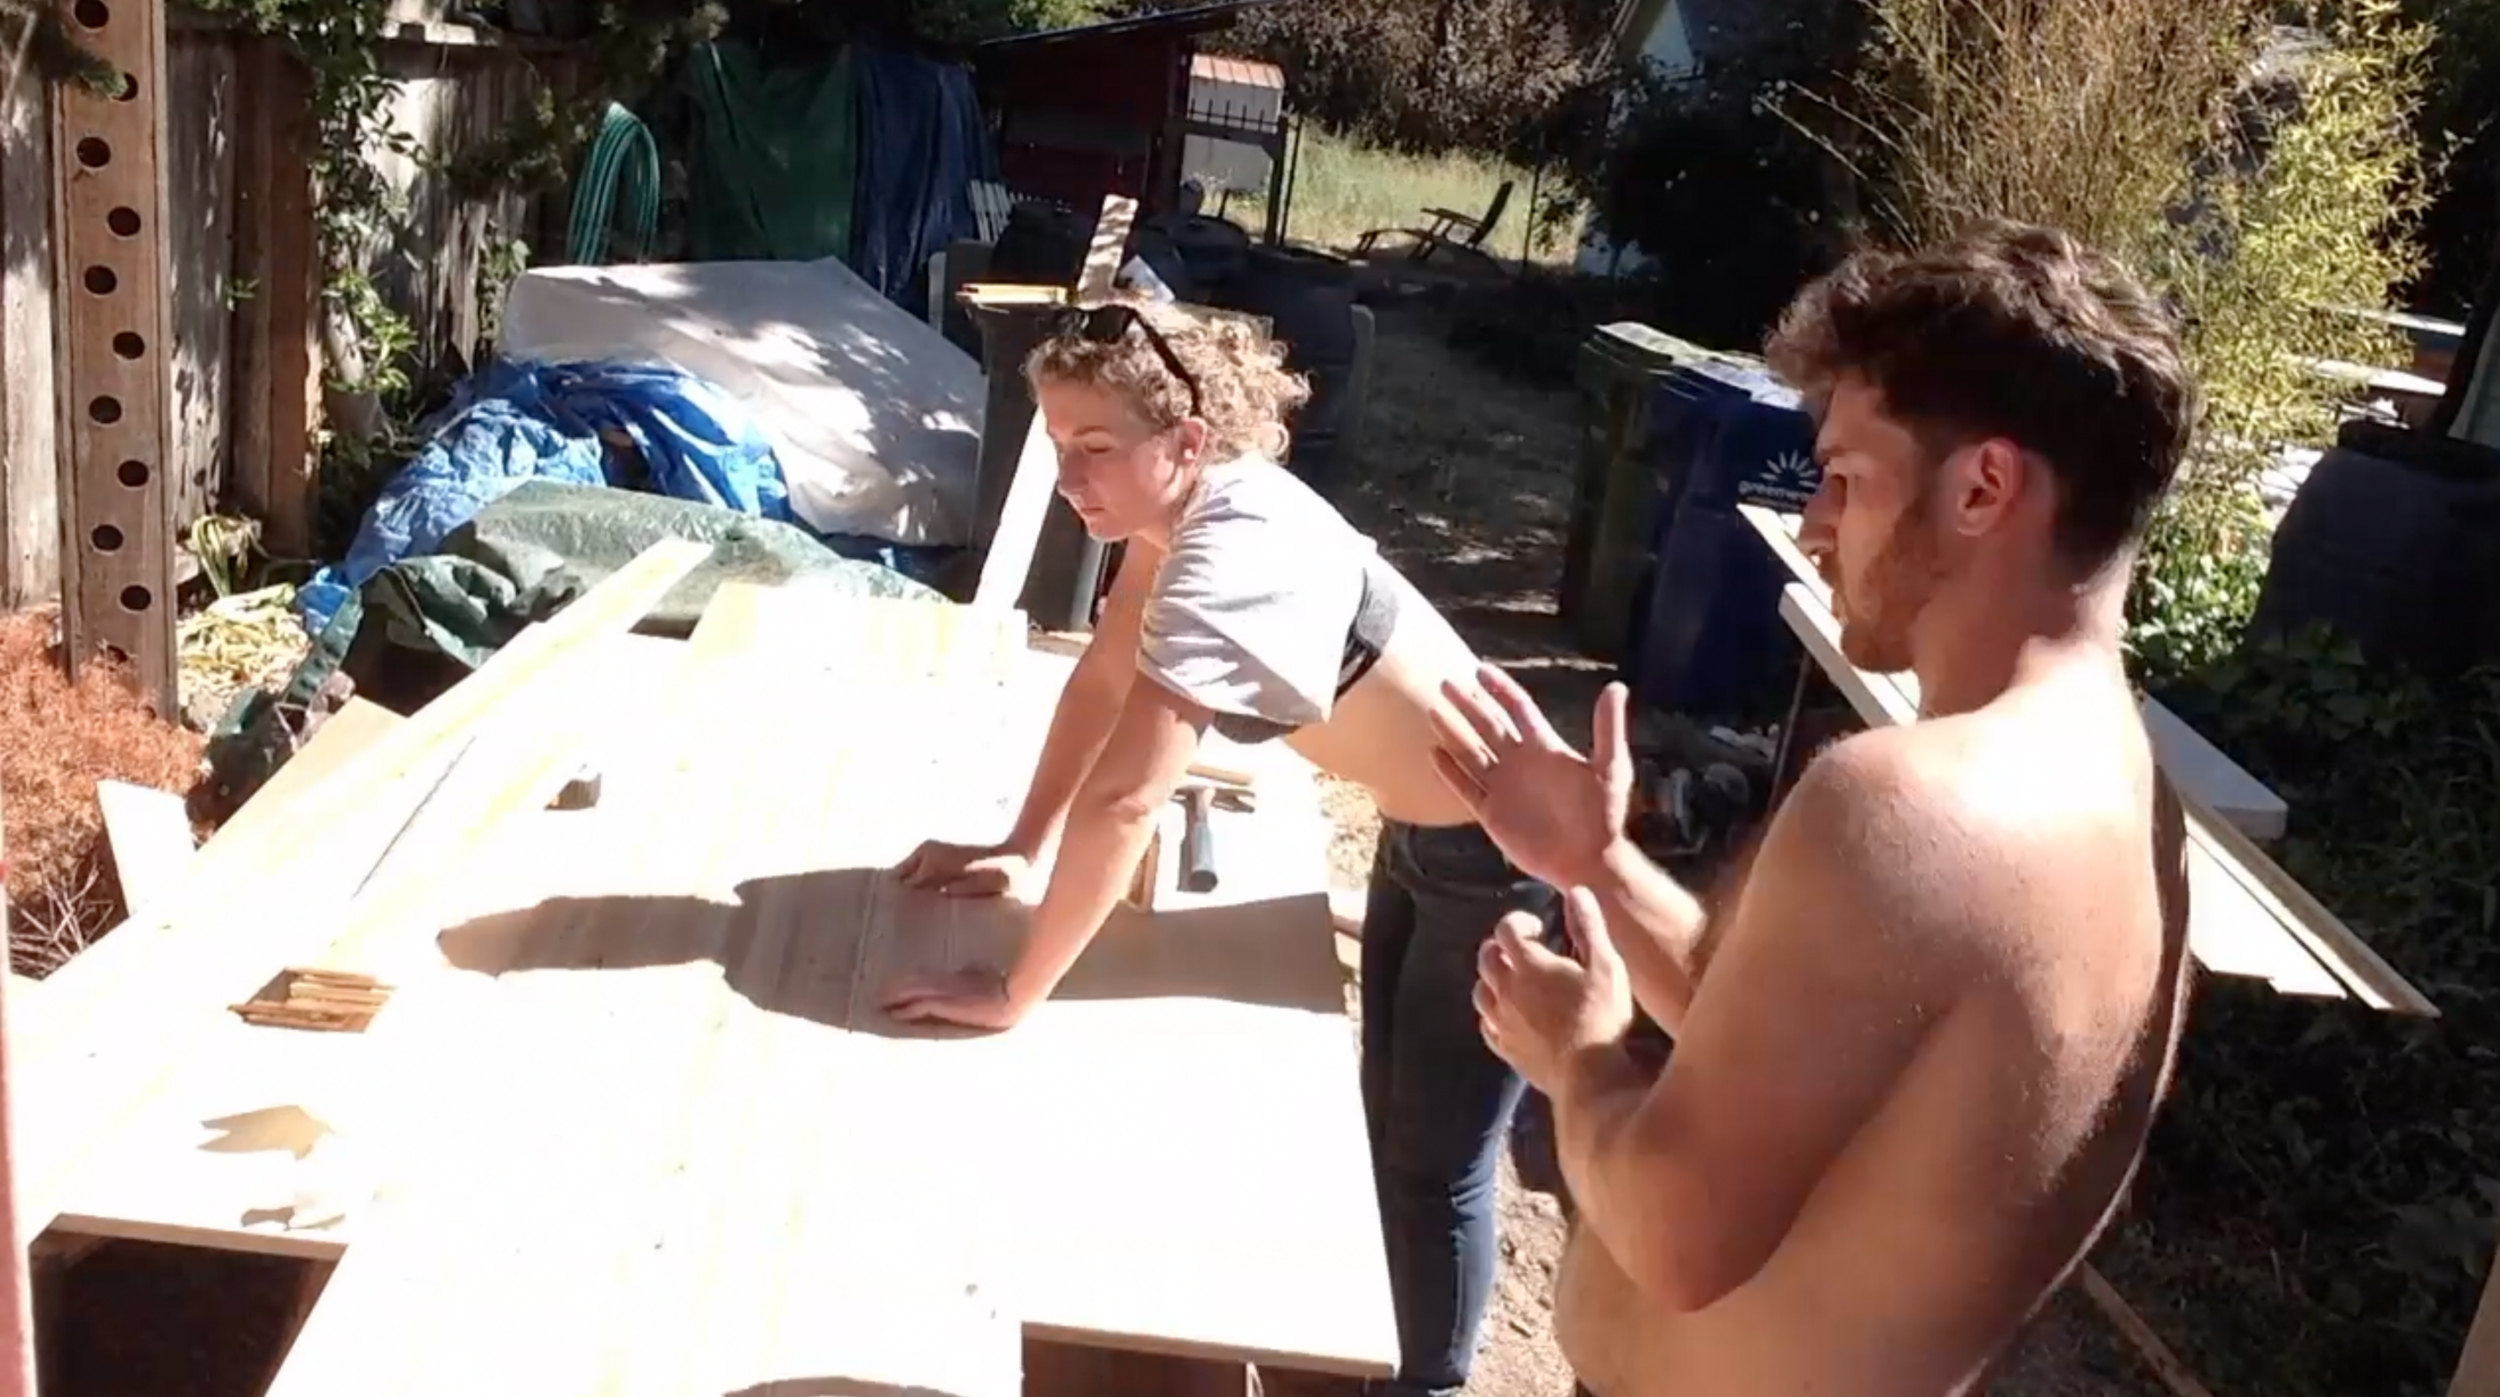
Amanda workin' like a champ while I slack off
Step 3: Go through the maddening process of connecting the tongue in grove boards together. Line one side with a bead of glue, set them together and gently tap with a hammer and a block of wood (or a rubber mallet) to connect them. This part sucks because the boards aren't all straight, so you kind of have to keep trying until you find the ones that fit.
Stoke is low whilst working on the paneling
Step 4: Strong stik and screw the connected cedar planks directly to the ribs of the van.

Pro tip: Use gorilla tape on the back to keep the cedar planks together

Get some friends to help you put the ceiling in!
Step 5: Make a small frame for the inset parts of the walls. In this van we didn't install some insulation where our heads and feet were going to go so we could have more room to sleep. We had to build out a special frame for this step and secure some cedar planks to the back of it. Using the Strong Stik we stuck it to the bare insulation on the wall of the van.

If you want this frame you will have to leave out some insulation during the insulation step.
Step 6: If you need to (we did), cut out holes for the lights to fit through. We used a circle saw and a Dremel tool to make the holes the right size.

Conclusion
The wood paneling rocks, although it has one downside. The cedar planks (because we screwed them directly to the metal of the van) shrink and expand by at least 1/4"- 1/2". If you want to avoid the shrinking and expanding I would recommend building a frame for the planks to sit on. However, consider that you will lose a bit of space in doing so.


